BETTER TOUCH BETTER BUSINESS
Contact Sales at Litel Technology

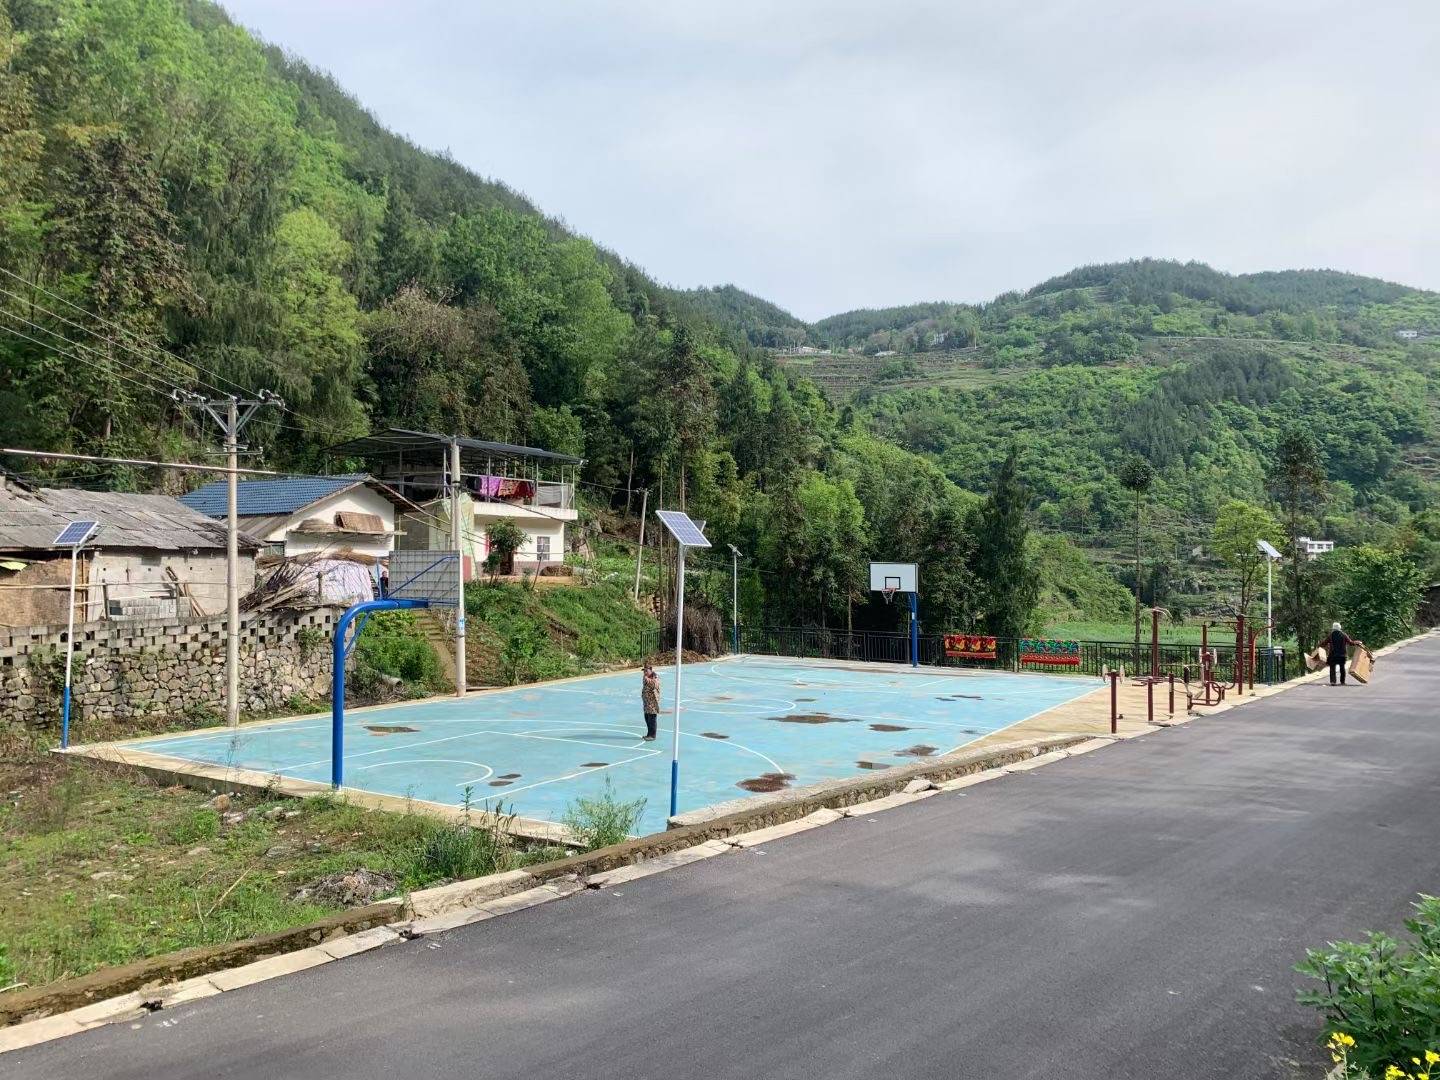
Rural solar street lights are divided into two types, one is supported by light poles, the other can be flexibly nailed to the wall or fixed on the telephone pole. Both have their advantages and disadvantages, and their installations are also different. How are these two types of rural solar street lights installed? Litel solar light would explain it for you as follows:

Rural solar street lights installation instructions:
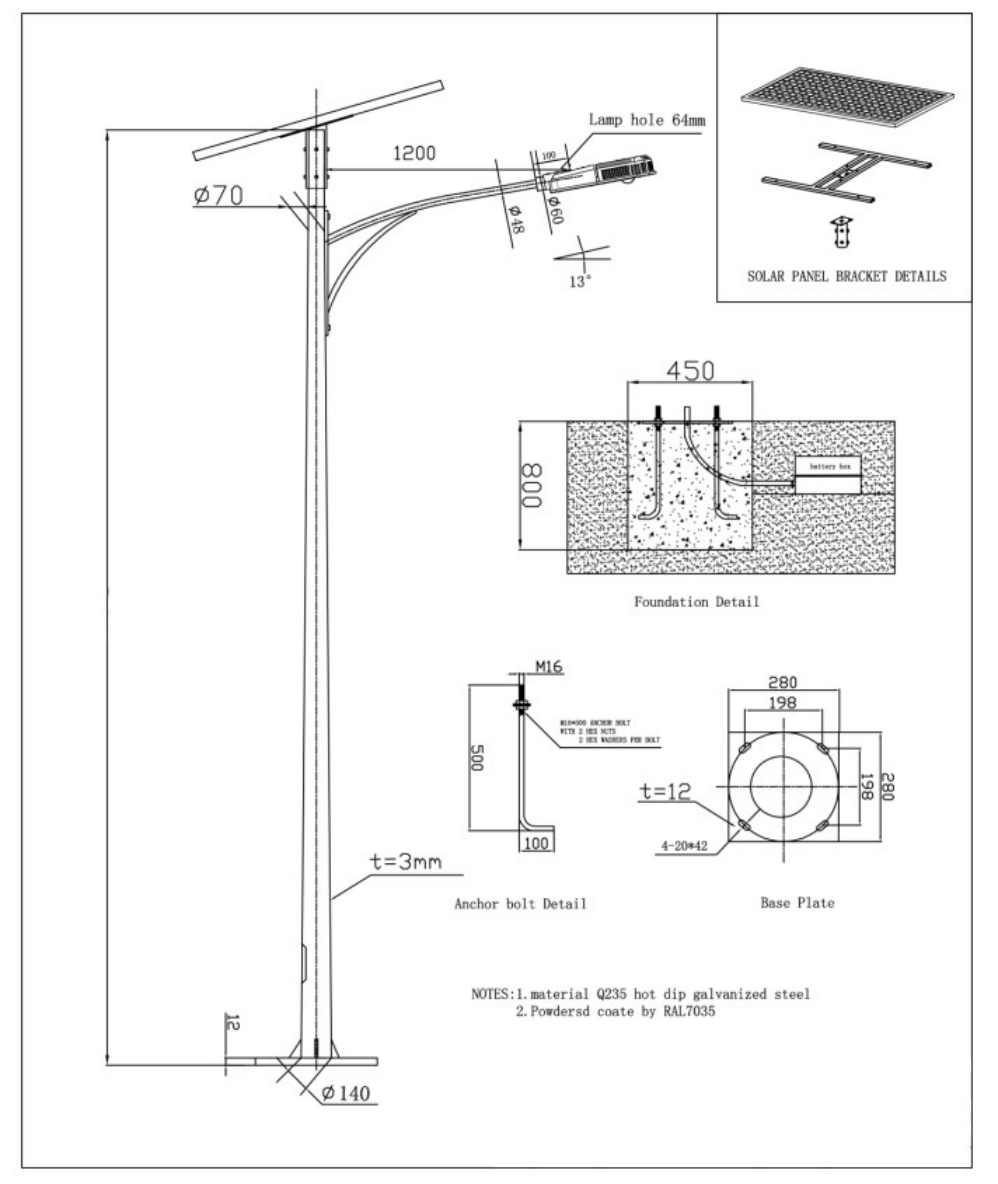
1. Put the battery into the buried box, throw out the wires, install the outlet pipe on the upper cover, pass the wires out, cover the upper cover, tighten with screws, put it into the battery pit, and thread the wire directly into the middle outlet hole of the foundation.
2. Install the support arm, adjust the angle and tighten it with screws. Next, install the lamp. The wiring length should be the total length of the pole. After installation, it can be led to the detection door below.
3. Open the back cover of the battery board, look at the positive and negative poles, and connect the wires. The length of the wires should be the total height of the pole, and cover the back cover. Install the battery board on the battery board bracket and fasten it with screws, then install it directly on the top of the pole, and lead the wire into the pole until it reaches the detection door.
4. Start the pole, (pay attention to safety) after the pole is set up, tighten the nut on the foot, and straighten the pole.
5. Take out the controller, connect according to the icon at the bottom left of the controller, and connect in sequence:
(1) Connect the lamps first.
(2) Connect the battery (the battery indicator light is on).
(3) After waiting for three minutes, the lamp and lamp indicator lights up (indicating that the lamp and battery are normal), and finally connect the battery panel (the lamp is off and the solar panel indicator light is on, indicating that the charging is normal).
6. After connecting the controller, hang the control ground on the bridge board inside the detection door, install the detection door, and fasten it with screws. Installed.
Hoop solar street light installation instructions:
1. Turn on the lamp head and fix the street lamp drive power;
2. Fix the bracket to the solar panel;
3. Fix the solar panel bracket on the light pole;
4. Pass the solar cable through the bottom entrance;
5. Connect the solar panel line and the lamp bead connection line;
6. Fix the light pole, cover the lampshade, and fix the light pole on the wall or utility pole.
Some customers will install solar street lights in carports or other indoor spaces because it is convenient for lighting. However, if it is installed indoors, the solar street light will not work, because its solar panels are completely blocked and cannot absorb sunlight, and there is no sunlight that can be converted into electricity, so it cannot be illuminated. If you want to install solar street lights indoors, you can install solar panels and lights separately, so that the panels are charged outdoors and the lights are illuminated indoors. Of course, we can also choose another lighting for indoor lighting.
Solar street lights can be assembled by yourself because solar street lights are composed of solar panels, maintenance-free batteries, light sources (usually led light sources), solar street light controllers and light poles. If you are familiar with the characteristics of various accessories, you can configure them.
The above is just a brief textual description of the installation of rural solar street lights. The specific installation operation also requires the purchaser to read the installation instructions carefully. The regular and large-scale manufacturers are equipped with professional rural solar street light installation instructors. If there is any problem in the installation, they will can be resolved.
Copyright © 2025 Guangzhou Litel Technology Co.,Ltd. | All Rights Reserved
We are here to help you! If you close the chatbox, you will automatically receive a response from us via email. Please be sure to leave your contact details so that we can better assist