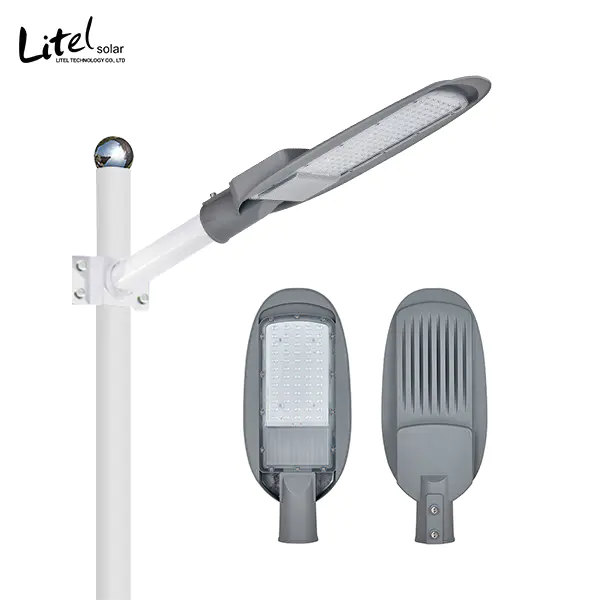
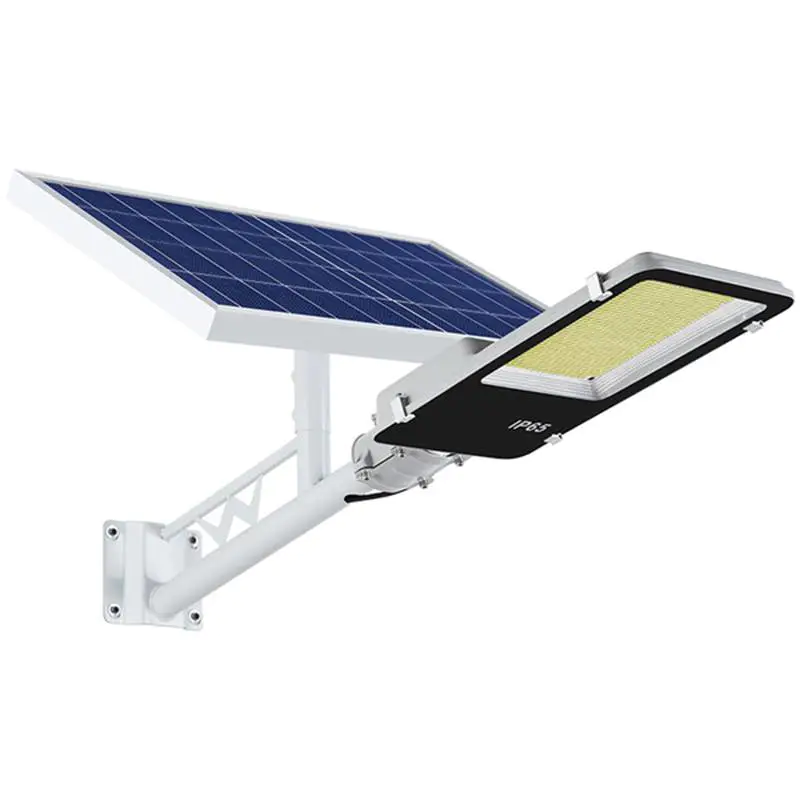
Many customers said that they bought
solar street light for the first time in their village, and they were worried that they would not fit well. It doesn't matter, rural solar street light can't be installed? Solar street light manufacturers teach you how to turn on the lights. Litelsolar will explain the installation steps for you in detail. 1. Rural solar street light foundation pouring: After paying the deposit. We will send you the corresponding foundation drawings, and you can pour it according to the specifications and dimensions on the drawings, and the street light can be installed after the concrete is completely solidified (usually more than 72 hours). It should be noted that during construction, it should be ensured that the strength and structure of the foundation meet the design requirements, ensure that the upper surface of the embedded ground cage is level, and the anchor bolts in the ground cage are perpendicular to the upper surface of the foundation; the foundation should be well waterproofed. As shown in the picture: 2. Assembly of accessories: In order to facilitate transportation, the light poles, lamp holders, solar panels, battery panel brackets and other components are individually packaged, so we need to assemble them before the vertical pole. 1. Thread the wires to mark both ends of the sheath wire, and connect the connecting wire from the lamp head to the controller and the connecting wire from the solar cell module to the controller, respectively, through the lead wire through the lamp pole to the position of the solar power controller, ready to be connected, Be careful not to break the thread cover during threading. 2. Lamp head installation Install the LED street lamp lamp head on the lamp arm bracket. When connecting the lamp holder sheath wire, pay attention to the positive and negative poles. Pay attention to tighten the fixing screws and follow the sheath wire. 3. Solar panel module installation ①Put the solar cell module on the module bracket first, and the junction box should be at a high place; the bolts should be installed from the outside to the inside, then put on the washer and fasten with the nut. When tightening, the bolt connection should be firmly connected , without loosening; ②Fix the solar cell module bracket on the light pole and fasten it with screws; after assembling, make sure that the solar cell module lighting surface faces the sun; connect the solar cell module and the battery module cable; ③Pay attention to the positive and negative poles; use Use a multimeter to detect the open-circuit voltage of the solar cell module (see the solar cell module specification). If there is any abnormality, check whether the line is open or short-circuited; wrap the joint with waterproof tape and insulating tape. 4. Battery installation Put the battery in the buried box, press the connecting wire between the batteries on the terminal of the battery with bolts and use copper gaskets to enhance conductivity, and the output wire of the battery is connected to the controller in the utility pole. When connecting, it must pass through the PVC threading pipe, and be careful not to short-circuit. 5. Vertical rod ① Take out the sheath wire in the lower port of the light pole assembly from the controller hatch and smooth it out. At the same time, lift the light pole assembly to a suitable position, and remove the sheath wire connecting the battery from the controller hatch. Take out the reception. ②Put the light pole upright and fasten the flange and anchor bolts. Loosen the fastening screws of the solar cell module bracket and the light pole, and adjust the direction of the solar cell module so that the lighting surface faces the best lighting direction of the installation site. 6. Wiring When wiring, first connect the solar power controller and the sheath wire of the lamp head, then connect the solar power controller and the sheath wire of the battery, and finally connect the solar power controller and the sheath wire of the solar cell module. Wiring should pay attention to the correct position of the sheath wire, and the polarity cannot be reversed. 7. Debugging After debugging the lights are normally on, put the wires into the light poles, fix the solar power controller, and close the controller hatch. After reading it, do you think that the installation of solar street light in rural areas is so simple? Litelsolar, the manufacturer of solar street light, reminds everyone to choose the installation time in the sunny day as much as possible, which is conducive to the charging of the battery board, and the lights can be turned on normally during debugging. If you encounter any problems during the installation of solar street light in rural areas, don't worry, call litelsolar, our technicians will guide you.
There are a wide variety of which are scientifically tested to have positive effects on the ability to solar led flood lights suppliers. solar led flood lights suppliers solar lights is one of them.
As a result, consumers will reward Litel Technology with leadership sales, profit, and value creation, allowing our customers in which we live and work to prosper.
When it comes to solar lights solar led flood lights suppliers, Guangzhou Litel Technology Co.,Ltd. is the name to reckon with. Not only are they best, they are the most experienced as well and provide wide range of services as well as products at affordable prices. Find out more information on Litel Technology.
A quality monitoring group created for ensuring that Guangzhou Litel Technology Co.,Ltd. manufactures solar lights accoording the strictest standard.
It is never too late to have a new mindset and to get things moving in the right direction. Choose Guangzhou Litel Technology Co.,Ltd. to be your quality provider.