Mason cans are fairly common, but usually in a configuration where they are hung in an upright position.
I have an idea of creating a lighting device in the darker part of the courtyard of my apartment building, using most of the recycled materials.
I want to create multiple lighting effects at different heights and depths, and use less obvious fixtures and brackets.
Mason glass cans do a very good job of externally using photospheres because they are keeping rain, bugs and everything else, and super affordable!
This textbook will teach you how to create a pole. -
Installed Mason Tank Lamp, you can use any internal or external configuration, you can think of.
In my example configuration, lights vary in height and depth, and when you walk around lights, they almost float in space.
Be sure to watch the above 30 seconds video to see how good these look at night.
For each lamp, you will need the following: 1/2"diameter tube cut to the length you want.
Be sure to increase the length by about 16 inches to accommodate the insertion into the ground. Pre-
Cable lamp socket kit or parts for creating cable lamp socket.
You can choose a variety of options for this, including more retro styles, but in this case, we will use the basic black plastic socket.
Most importantly, it must have two components:> external threads, which can accommodate two threaded socket rings> threaded base from which wires flow.
Two threaded sleeve rings. (
If the base of your lamp socket is wider than the outer threaded area, you only need one. .
Threaded nut matches the threaded base of socket.
It's probably a metric A2 thin blocking M10 x 1.
0, stainless steel material, if you intend to use outdoors. Epoxy adhesive. We used J-
B. Welding raw steel epoxy resin tank.
I recommend 16 ounces. /Pint size.
At least, they need to be large enough to accommodate the bulbs and bulbs of your choice.
Various possibilities also look good.
Update: For outdoor use, as I indicated, I recommend plastic Mason cans and optional silicone gaskets.
If you like the beauty of aluminium caps, use silicone gaskets and consider using waterproof lubricants to lubricate threads.
All these suggestions will help to replace the bulbs as needed in the future. Light bulb.
I'm using a cheap S1411 watt transparent light bulb, but please choose what you like. --------------------------------------------
Optional items:> Pipeline paint.>Multi-
Channel scintillation generator.
I used a five-channel random scintillator to create a subtle "firefly glow" effect in all the lights I installed.
It adds to their lives and another dimension of "movement" rather than annoying.
Measure the diameter of your light socket.
We found that 15/8 "is the ideal hole size for most sockets.
You need to open a hole in the center of the metal cover to accommodate the threaded socket.
There are many ways to achieve this.
We first draw a circle on the lid with a marker pen, then drill a hole big enough with a larger drill, and cut the whole circle with iron sheet.
A scaled bit or a Dremel tool can also help solve this problem.
Be careful when cutting sharp aluminium caps.
The edge does not need to be particularly perfect because the threaded sleeve ring will cover the exposed edge.
ORAS suggested in the previous step that you use a plastic Mason can cover, use a marker pen to trace your hole shape, and then carefully cut it with a razor or X. -acto blade.
Drilling for wires: If you plan to use these lights outdoors and push them into the ground, you need to drill a hole in the side of the conduit, about 16"from the bottom edge.
It should be the diameter of the wire on your lamp socket.
Fix the nut to the top: The epoxy resin is very strong, but it will take some time to fully solidify.
First, the catheter is supported vertically in an undisturbed position.
We used an inverted milk carton to support the pipeline.
After mixing up the epoxy resin required for a few sections of the catheter at a time, apply it to the end of the catheter and place the nut in the center of the top.
It should look like a sample image.
After at least one night of maintenance, you can handle the pipeline.
Painting: We've already gone. -
Remove the "green/grey exterior paint" to make them less visible in the garden, or use transparent coatings or other colors to protect them from outdoor corrosion.
You can choose to retain their incomplete internal use.
This can be applied to spray cans, brushes or rollers.
Use our attached chart to help assemble your fixtures.
First, the wire is passed through the nut end of the conduit and then removed from the hole created on the side.
A paper clip or other gadget can help you guide the wire through the hole.
Another trick is to feed the wire until the end is aligned with the hole, and then rotate the wire.
This usually results in the wire being pushed out of the hole just enough to continue through.
Once the wire is pulled onto the socket, carefully screw the light socket into the nut fixed to the catheter.
It should be safe, but not more than-
Tightening may twist the nut on the conduit.
Twist the first threaded socket ring (flat side up) onto the socket, then screw on the Mason can cover and another threaded socket ring (flat side down).
The socket ring should be manual-
Tighten both sides of the lid.
If you connect the plugs directly to the end of each light line, you can now connect them together.
If you are using a scintillator, keep the wire as it is until the fixture is in place.
For safety reasons, we have not added bulbs, Mason bottle spiral belts or Mason bottles.
Before pushing each lamp to the ground, it is necessary to "pierce" the Mason bottle screw belt from the bottom, through wires and conduits.
Keep light in level(s)
Stand upright, just grab the catheter and push it to where you want it to go until you reach it. -
Or just through the wire outlet.
Install your light bulb, then install the Mason bottle, and fix it with a screwbelt.
These should be tight, but not more than-
Tighten and be careful not to twist the more sensitive epoxy nut connection.
It's powerful, but not invincible.
If you have a plug, you can plug in each lamp. If you connect multiple devices to a multi-channel scintillator, follow the instructions attached to it.
You can have more light than light channels, but you have to disperse as much light as possible between them.
You also need to put the scintillator under the open container, and so on. . .
To withstand bad weather.
Use your imagination to make these instructions!
These lamps can also be supported by wooden bases.
Without ground mounting, a thick wooden base with a 1/2 "hole" can be an effective base.
This also applies to indoor installation.
No power supply?
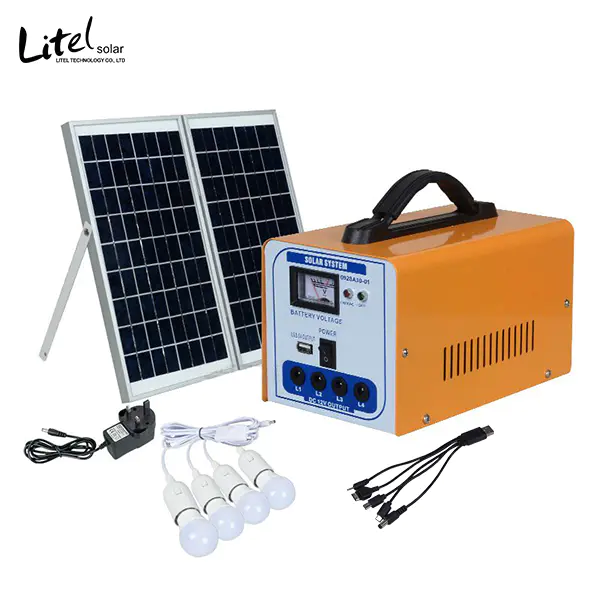
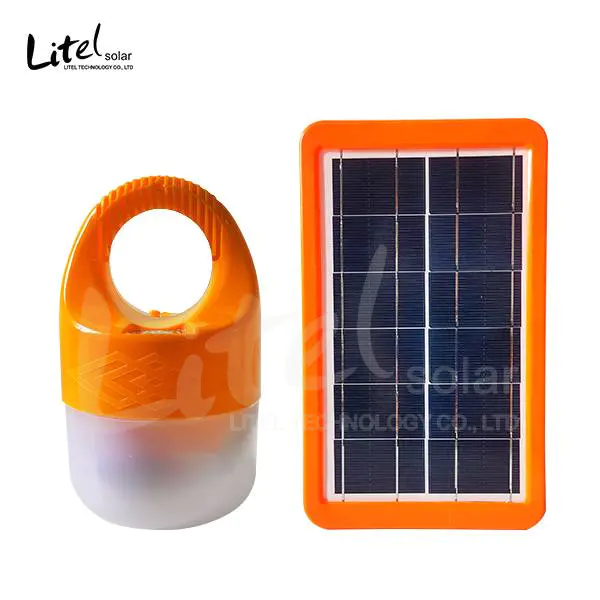
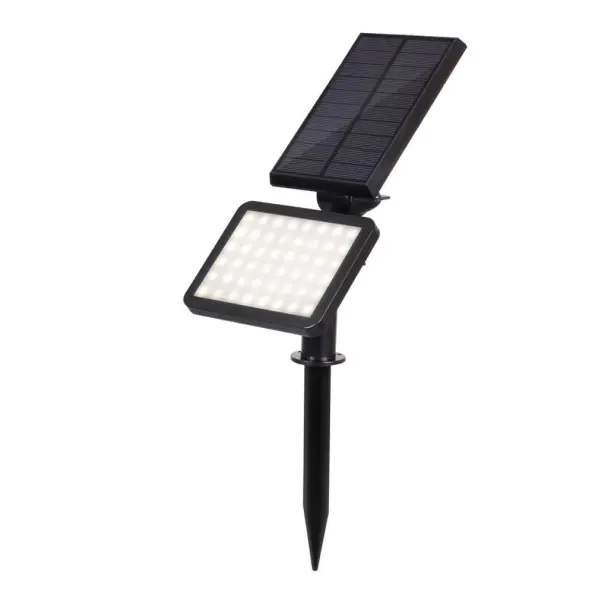
Try solar energy!
If you want to create the same level of lighting, you will need not only the most basic solar panels or landscape lamps, they will not output too much.
For beginners, there are some really beautiful 2200K filament LED bulbs, each using one watt, which looks similar to my example.
However, they require 110V, so you need an inverter to convert 12V of your solar panel.
There are also 12V filament bulbs, at a slightly cold color temperature of 2700K, the color is still quite warm.
Of course, you also need a solar panel and battery device, as well as a photoelectric tube or automatic timer.
For smaller solar panels, I recommend using a timer, because photovoltaic cells usually turn on solar lighting before very dark, thereby reducing the time and/or intensity of light working in the dark.
Enjoy and share your own Mason Cans back light ideas and photos of your results!